
← Back to Projects

Irving, TX · April 2026

Irving Garage Floor Coating Project

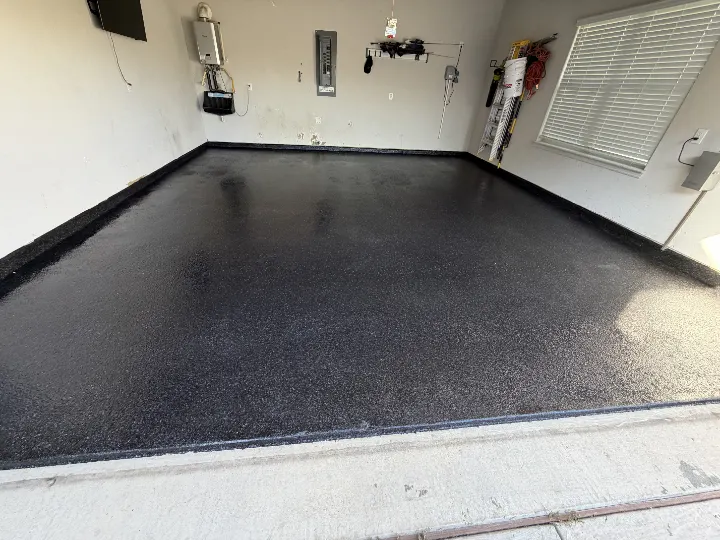
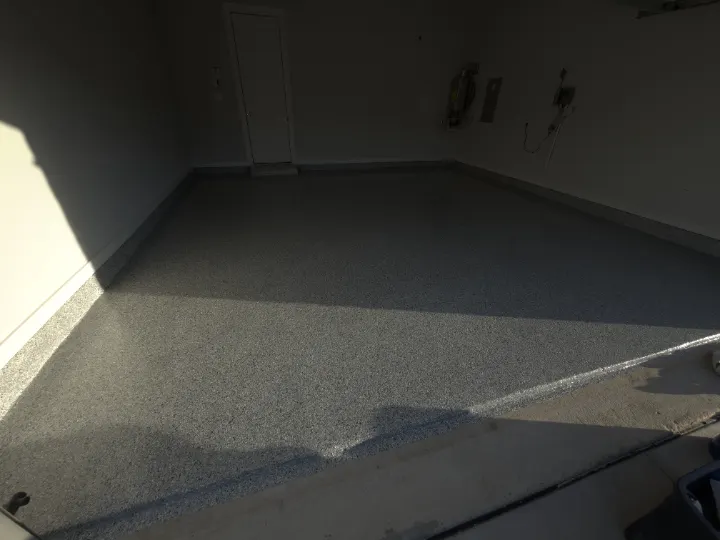
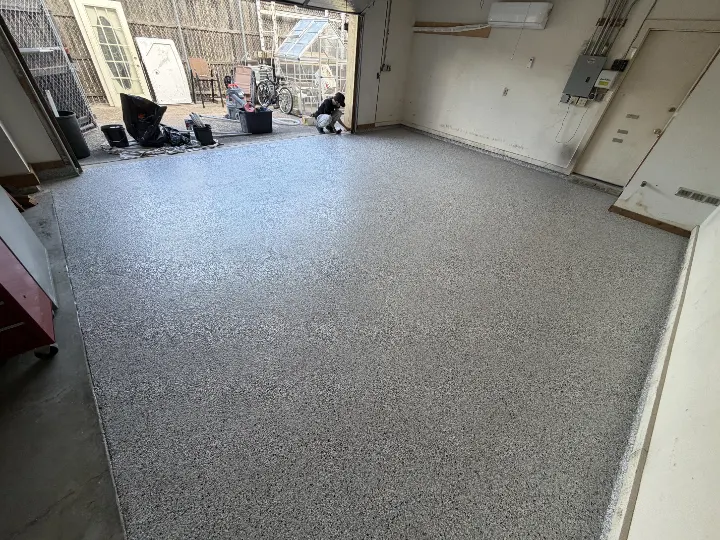
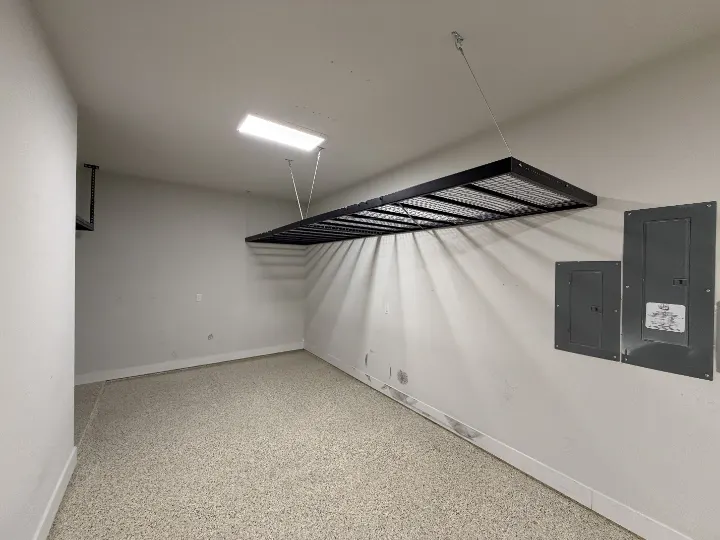
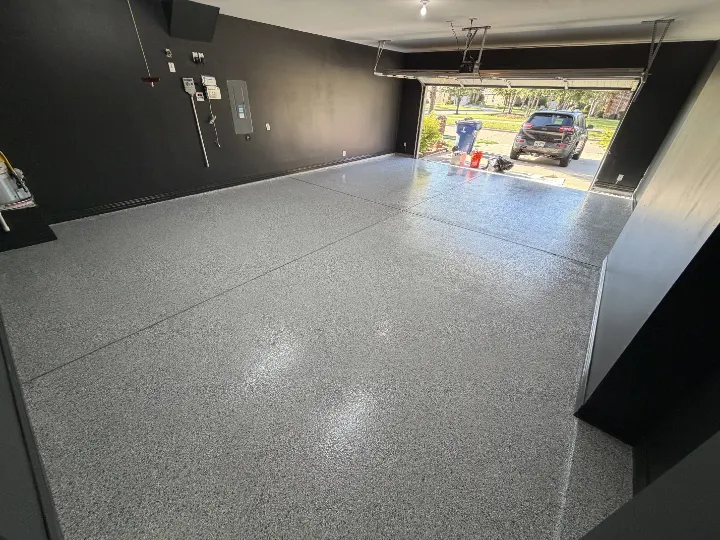
Ace Garage Pros restored and coated this 440 sq ft Irving garage for a homeowner planning to eventually convert the space into an enclosed room. The badly damaged concrete contained extensive cracking, pits, and spalled areas, and two new concrete sections were added to improve the transitions into the connected workshop. The restored floor was finished with a moisture vapor barrier, Light Grey base coat, full-broadcast Coyote decorative flake, and a protective clear topcoat. The project was completed in three days.

Customer Goal

The homeowner wanted to restore and finish the garage floor as the first step toward eventually converting the garage into an enclosed room. He needed the badly damaged concrete repaired, wanted smoother transitions into the connected workshop, and selected a decorative epoxy floor that could support the space’s current use while giving it a more finished appearance for its future purpose.
Starting Condition

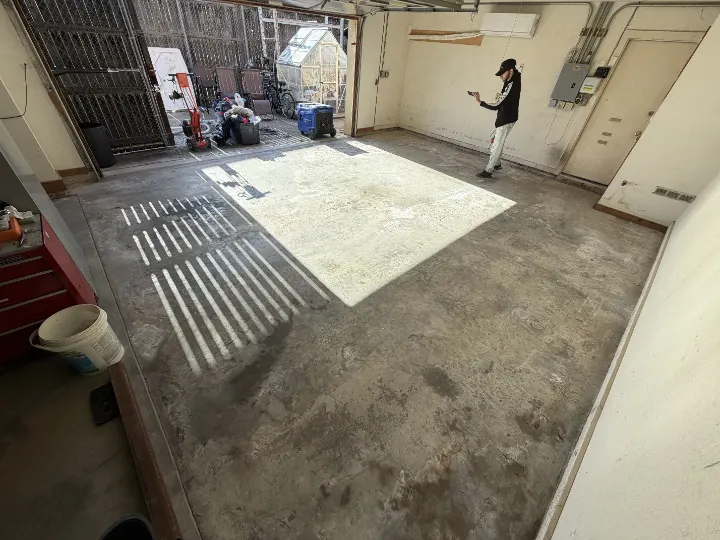
The 440 sq ft garage had an older concrete floor with extensive cracking, numerous pits and spalled areas, discoloration, and significant surface variation. The transitions between the garage and connected workshop also included two uneven or incomplete sections that needed new concrete to create a more continuous connection between the spaces. The amount of visible damage meant the slab required substantial restoration before a coating system could be installed.

Preparation

  1. Cleared and inspected the 440 sq ft garage floor and the transitions into the connected workshop.
  2. Identified the extensive cracks, pits, spalls, and other damaged areas requiring repair.
  3. Mechanically diamond-ground the concrete to remove surface contamination and create the proper profile for coating adhesion.
  4. Detailed the concrete along walls, corners, perimeter edges, doorways, and workshop transitions.
  5. Opened, cleaned, and filled cracks throughout the garage floor.
  6. Filled numerous pits and spalled areas to rebuild the damaged concrete surface.
  7. Placed new concrete in two sections to improve the transition between the garage and connected workshop.
  8. Ground and blended the repaired areas with the surrounding slab.
  9. Vacuumed the floor thoroughly to remove grinding dust and loose material.
  10. Inspected the restored concrete before beginning the coating application.

Installation

  1. Applied a moisture vapor barrier over the mechanically prepared and repaired concrete.
  2. Applied a Light Grey base coat across the garage floor and restored transition areas.
  3. Broadcast Coyote decorative flake throughout the wet coating to create a consistent full-flake finish.
  4. Applied the flooring system carefully around walls, corners, doors, electrical equipment, and the connected workshop opening.
  5. Continued the coating across the repaired concrete sections to visually unify the original slab and new transitions.
  6. Removed loose excess flake and refined the surface before applying the final coating.
  7. Sealed the floor with a protective clear topcoat.
  8. Detailed the garage-door threshold, perimeter, and workshop transitions.
  9. Completed a final inspection of the floor, repairs, edges, and finished surface.

Challenges

  • Restored a badly deteriorated concrete floor with extensive cracking throughout the slab.
  • Filled numerous pits and spalled areas that would otherwise remain visible beneath the coating system.
  • Added new concrete in two locations to improve the transitions between the garage and connected workshop.
  • Blended the original slab, repaired areas, and new concrete sections into one visually consistent floor.
  • Created an even full-flake appearance across concrete with substantial differences in age, texture, and condition.
  • Maintained clean coating lines around walls, doorways, electrical panels, utility features, and the workshop opening.
  • Prepared the garage for its current use while supporting the homeowner’s longer-term plan to convert it into an enclosed room.

Outcome

The damaged concrete was restored and transformed into a consistent Coyote full-flake floor over a Light Grey base coat and moisture vapor barrier. Extensive crack, pit, and spall repairs created a more uniform foundation, while the two new concrete sections improved the transitions into the connected workshop. The completed floor gave the homeowner a cleaner and more finished garage for immediate use while establishing a better starting point for the space’s possible future conversion into an enclosed room. The 440 sq ft project was completed in three days.

Maintenance Guidance

  • Sweep or blow loose dirt, sand, and debris from the floor regularly.
  • Mop the surface with water and a mild, nonabrasive cleaner when deeper cleaning is needed.
  • Wipe up automotive fluids, chemicals, and other spills promptly.
  • Avoid dragging sharp tools, metal furniture, appliances, or heavy equipment across the coating.
  • Use protective pads or a dolly when moving heavy workshop equipment or storage cabinets.
  • Avoid harsh solvents and abrasive cleaning products that could dull the clear finish.
  • Watch repaired cracks and transitions for unusual movement if additional remodeling work is performed.
  • Protect the coated floor during future framing, drywall, electrical, or room-conversion work.
  • Contact Ace Garage Pros if peeling, bubbling, unusual cracking, or another coating concern appears.

Owner Takeaway

A coating system can improve a damaged garage floor, but the appearance and performance of the finished floor depend heavily on the restoration underneath it. On this project, the crack repairs, pit and spall filling, and new concrete transition sections were essential parts of the installation—not optional cosmetic steps. Completing this work first gave the homeowner a more finished garage now and a better foundation for any future conversion of the space.

Build Your Garage Plan

See the Finish, Then Price the Scope

Try combinations in the garage visualizer, carry your choices into the estimator, or schedule a site visit for a written quote.

Project photo viewer

Ace Garage Pros epoxy garage floor project preview

Ready to Transform Your Garage?

Schedule a free on-site quote built around your space, priorities, and project goals.

Your info stays private · Typical response: under 1 hour · No obligation

Call JDGet a Free Quote