

Quick Takeaways
Garage floor coating timeline takeaways
- A one-day install means the installation itself takes one working day. Ace's standard full-flake schedule is normally two installation days, whether MVB is selected or not.
- Ace's standard aftercare allows light foot traffic 6 hours after topcoat and parking after 48 hours. Cooler conditions can require a longer wait.
- The coating continues toward full cure and hardness for roughly 5–10 days. Coating removal or substantial repairs can add one or two installation days depending on severity.
Four Different Milestones
“Done” depends on what you want to do next
Garage floor schedules become confusing when installation, recoat, traffic, and cure are treated as synonyms. They are not. A crew can finish the visible floor while the coating continues developing internally, and a product can accept a limited type of traffic before reaching its published full cure.
1
Installation complete
The final coat has been placed and the crew has finished the scheduled application. A “one-day install” means this work was completed in one working day; the floor still needs protection.
2
Recoat window
An internal installation milestone that determines when another compatible layer can be applied.
3
Return to service
A defined use milestone, such as foot traffic, light traffic, or vehicle traffic. Each may have a different wait.
4
Full chemical cure
The longer manufacturer-published cure milestone. It can occur days after the floor first accepts traffic.
A Practical DFW Sequence
The standard path from bare slab to vehicle return
Ace normally plans a full-flake garage floor across two installation days, whether the selected system begins with polyurea or MVB. Exact timing still depends on the actual substrate temperature, repair scope, application conditions, and project-specific aftercare instructions—not the square footage or forecast alone.
Before Installation
Evaluate the floor and define the scope
Ace visually reviews the garage for cracks, pits, spalls, old coatings, obvious contamination, access constraints, and other conditions that affect preparation. The proposal should identify coating removal, planned repairs, selected layers, vertical surfaces, and whether CFS-CTR Moisture Vapor Barrier is included. Ace does not perform routine moisture or laboratory testing.
Installation Day 1: Preparation
Create the bond profile before opening a bucket
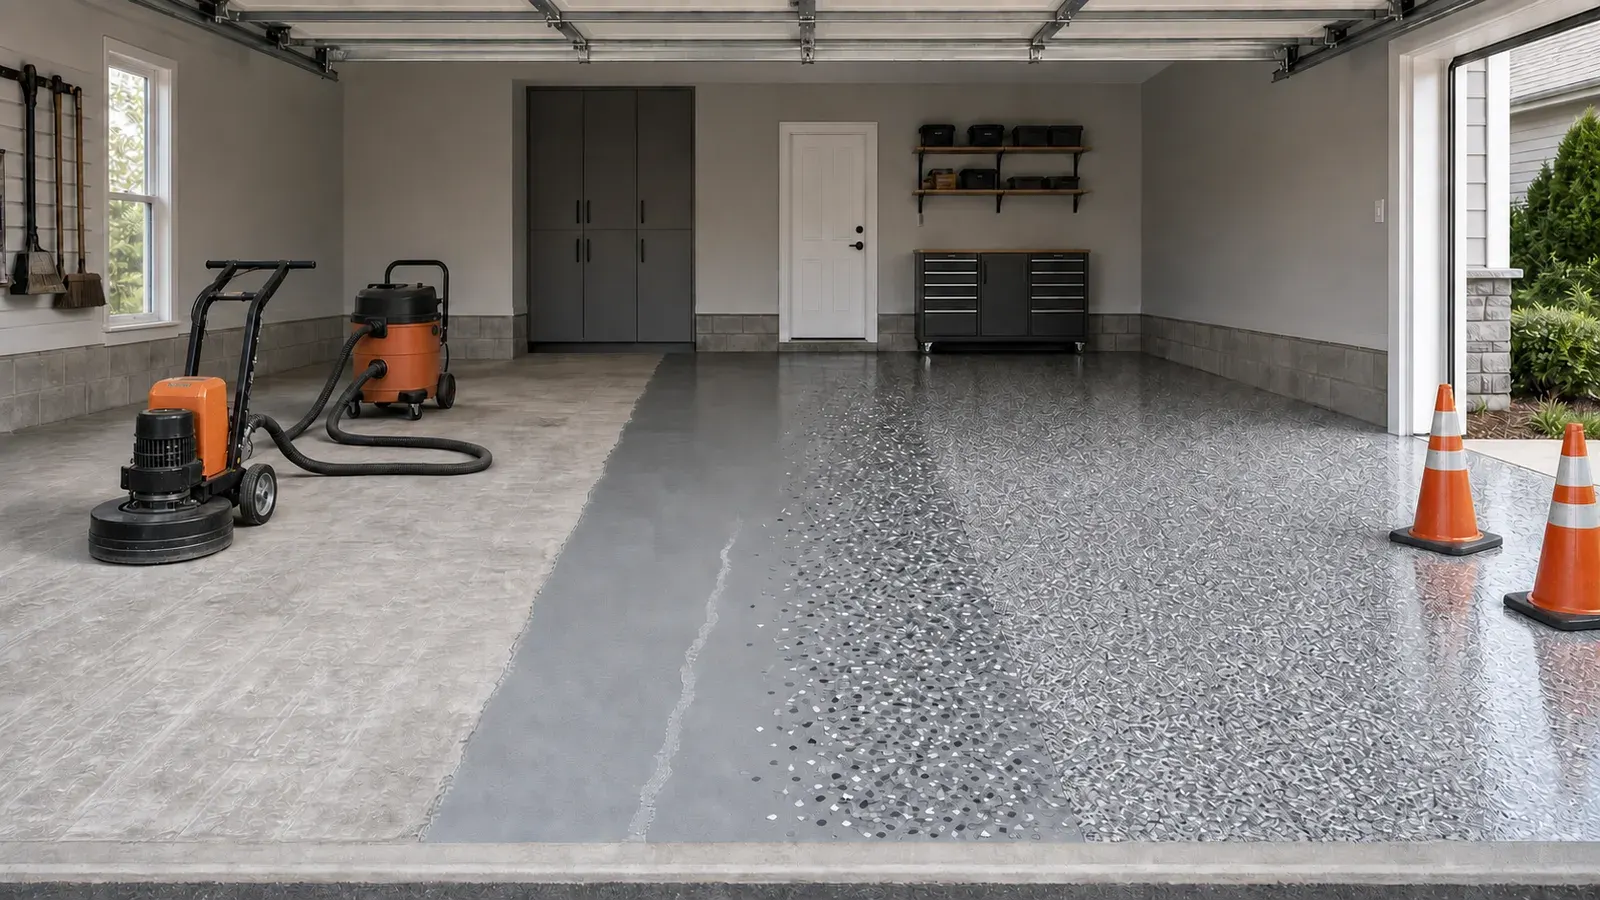
Ace diamond grinds the concrete to an ICRI CSP 3 profile. Existing coatings require removal tooling suited to that material. Dust is removed; cracks are opened with a crack-chase blade, filled with epoxy repair material, and ground flush. This work may look less dramatic than the color coat, but it controls when coating can begin. The grinding-versus-acid-etch guide explains why mechanical preparation is Ace’s standard.
Installation Day 1: First Coating
Base coat and flake—or the MVB layer
Without MVB, Ace installs pigmented CFS-CTR Polyurea after preparation and immediately broadcasts Torginol polymer flake to full coverage. When MVB is selected, Ace applies that protective layer after preparation instead, and the decorative system moves to day two. See how the layers work together in the full-flake system guide and the coating chemistry guide.
Installation Day 2: Topcoat
Complete the selected two-day sequence
Without MVB, Ace scrapes and vacuums the flake installed on day one, then applies the clear CFS-2C Polyaspartic topcoat with aluminum oxide for added traction. With MVB, Ace installs the polyurea base coat and full flake on day two, waits about four hours, then returns to scrape, vacuum, and topcoat. Both standard sequences take two installation days; MVB changes which coating is placed on the first day rather than adding a third day.
6 Hours After Topcoat
Light foot traffic can begin
Ace’s standard aftercare instruction allows light foot traffic 6 hours after the topcoat is applied. This is not approval for vehicles, heavy storage, washing, or full garage use. Cooler conditions can require more time, and the aftercare instructions attached to the project invoice control the actual release.
48 Hours After Topcoat
Vehicles can normally return
Ace’s standard instruction is to wait 48 hours after the topcoat is applied before parking vehicles in the garage. Count from the topcoat completion time, not from the start of preparation. Cooler conditions can extend the wait, so use the project’s aftercare attachment when it gives a later vehicle-return time.
Days 5–10
Full hardness continues developing
The polyaspartic topcoat typically takes roughly 5 to 10 days to reach full cure and hardness. Warmer conditions generally move cure toward the faster end of that range, while cooler conditions slow it. That longer development period is why vehicle return and full cure remain separate milestones even after the garage is back in use.
When The Schedule Expands
What can extend the standard two-day installation
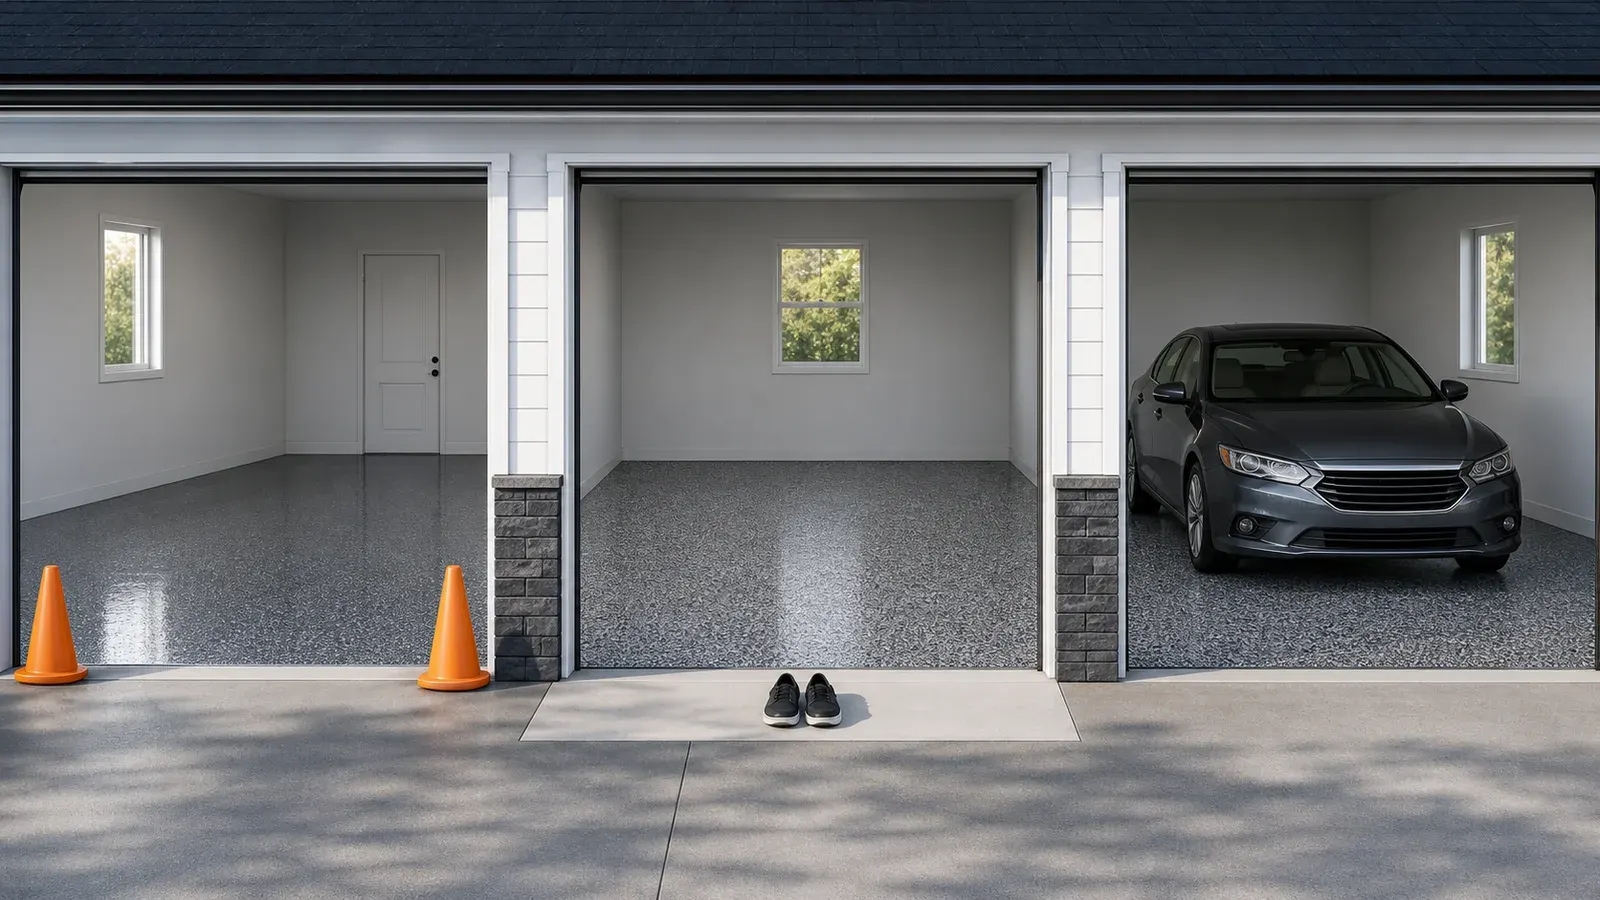
MVB changes the layer order but not Ace’s standard two-day schedule. Existing-coating removal, extensive repairs, or conditions that do not support the planned application are the items more likely to extend the installation.
Moisture protection
Ace recommends CFS-CTR MVB proactively for DFW garage slabs rather than making it conditional on one moisture reading. After grinding on day one, Ace applies MVB; on day two, the crew installs the polyurea base and flake, waits about four hours, then completes the topcoat. Read why it matters in the DFW moisture vapor barrier guide.
Removal and repairs
An old coating must come off before the target profile is established. Cracks, pits, and spalls need suitable preparation and repair before the first coat. Depending on severity, coating removal or substantial repairs can add one or two installation days, and hidden conditions may become clearer only after grinding begins.
Application conditions
Warmer conditions generally make the coating cure faster, while cooler conditions slow it. Higher humidity can also make the polyaspartic topcoat cure more quickly and shorten the crew’s working time. Rain, condensation, water exposure, or a damp surface can still make a planned step unsuitable, so the release schedule follows the conditions at the actual garage.
Plan The Downtime
What homeowners can settle before installation day
The most useful timeline is written before work begins and updated if the prepared slab changes the scope. Ask for separate dates or milestones for installation, foot traffic, moving items back, vehicle return, and full cure. That makes it easier to plan temporary parking without guessing what “ready” means.
Compare the full written scope—not just the advertised install time. The garage floor quote guide covers preparation, layers, repairs, moisture protection, finish work, and warranty terms. If an existing floor has lifted around tire locations, use the hot-tire pickup guide to separate surface tracking from physical coating loss.
Before the crew arrives
- Clear the floor: confirm where garage contents, refrigerators, and heavy equipment should go.
- Keep access open: plan for the work vehicle, grinder, vacuum, materials, and safe ventilation.
- Share known history: identify old coatings, repairs, leaks, irrigation issues, and recurring damp areas.
- Protect the cure window: prevent sprinklers, wash water, pets, foot traffic, and stored items from entering early.
- Plan alternate parking: keep a buffer in case the final coat or site conditions move the release time.
Ace’s Aftercare Instructions
Keep the project-specific release times with the invoice
Ace attaches aftercare instructions to the customer’s invoice. The invoice and its attachments remain available through the customer portal, so the project-specific foot-traffic, parking, cleaning, and care instructions can be reviewed after the crew leaves. If conditions require a longer wait than the standard milestones above, the attached aftercare instruction controls.
Damage that occurs while the floor is curing is not covered by Ace’s warranty. That makes it important to follow the attached instructions even when the surface already looks dry. Review the complete warranty terms for the controlling coverage, conditions, and exclusions.
Explore Ace’s DFW garage floor coating service, browse completed floor coating projects, or use the floor coating estimator for early planning. For a schedule based on your slab and selected system, request an on-site quote.
Primary technical references
The CFS sources identify Ace’s owner-confirmed products and provide technical context for application and cure. ICRI supplies general surface-preparation guidance. The customer milestones in this guide reflect Ace’s owner-approved operating and aftercare instructions; project conditions can require a longer wait.
- Concrete Floor Solutions: CFS-2C Polyaspartic product page
- Concrete Floor Solutions: CFS-2C Polyaspartic Technical Data Sheet
- Concrete Floor Solutions: installation instruction library, plus the current one-day flake, CFS-2C, CFS-CTR Polyurea, and CFS-CTR MVB copies supplied to Ace
- Concrete Floor Solutions: CFS Moisture Vapor Barrier product page
- International Concrete Repair Institute: concrete surface-preparation guidance