
← Back to Projects

Euless, TX · January 2026

Euless Garage Floor Coating Transformation

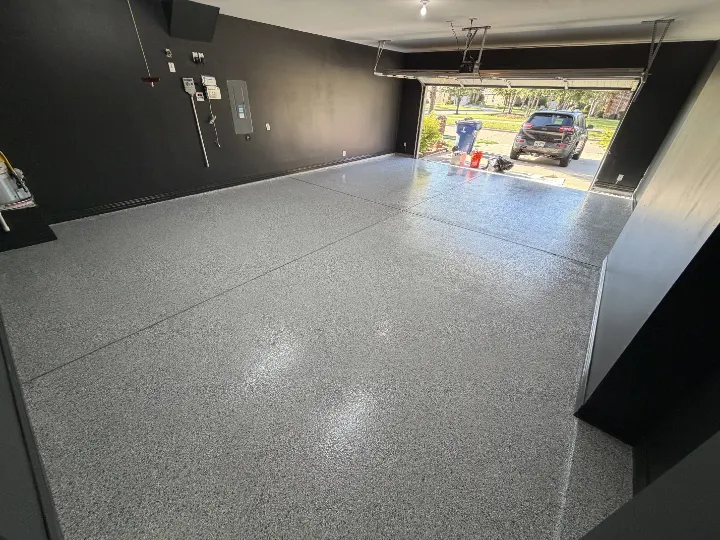
Ace Garage Pros transformed this 400 sq ft Euless garage for a homeowner who wanted a showroom-inspired floor for his car. The stained and cracked concrete was mechanically prepared and repaired before receiving a moisture vapor barrier, full-broadcast Custom Blend decorative flake, and protective clear topcoat. Completed in three days, the finished floor created a clean, polished setting that made the vehicle the focal point of the garage.

Customer Goal

The homeowner wanted to transform his garage into a showroom-inspired space for his car. His goal was to replace the stained and cracked concrete with a clean, polished decorative floor that would complement the vehicle and make the entire garage feel more intentional and finished.
Starting Condition

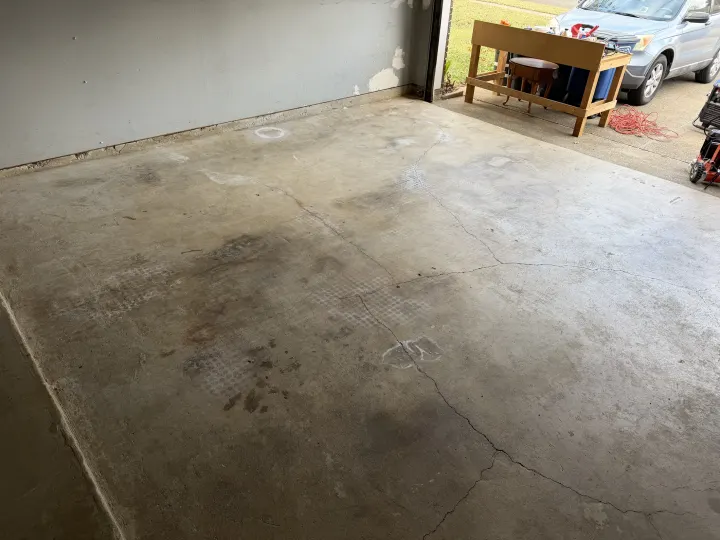
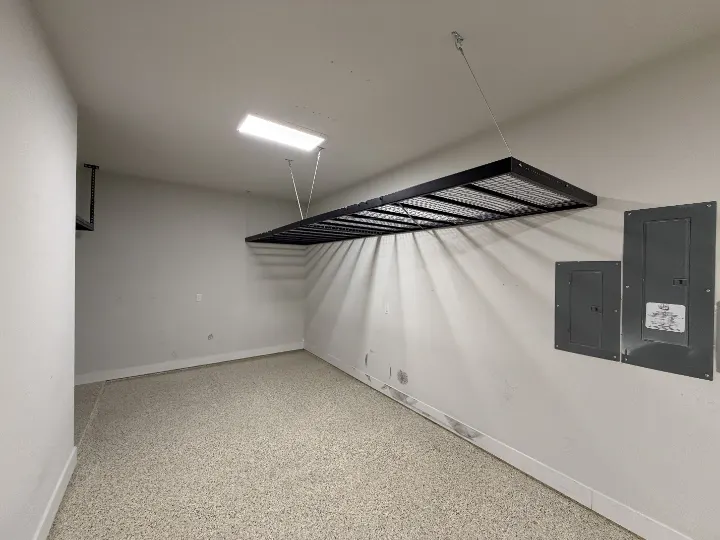
The 400 sq ft garage had an older bare concrete floor with visible staining, discoloration, surface wear, and cracks extending across portions of the slab. Although the homeowner already used the garage for his vehicle and tools, the condition of the concrete did not provide the clean showroom appearance he wanted.

Preparation

  1. Cleared and inspected the 400 sq ft garage floor.
  2. Evaluated the slab for cracks, stains, surface wear, and areas requiring repair.
  3. Mechanically diamond-ground the concrete to remove surface contamination and create the proper profile for coating adhesion.
  4. Detailed the slab along the walls, corners, perimeter, doorway, and garage-door opening.
  5. Cleaned and repaired visible cracks and damaged areas in the concrete.
  6. Ground and blended the repaired areas with the surrounding slab.
  7. Vacuumed the floor thoroughly to remove grinding dust and loose material.
  8. Protected the walls, doors, tool-storage areas, and other surrounding garage features.
  9. Inspected the prepared concrete before beginning the coating application.

Installation

  1. Applied a moisture vapor barrier over the mechanically prepared and repaired concrete.
  2. Applied the base coating across the garage floor.
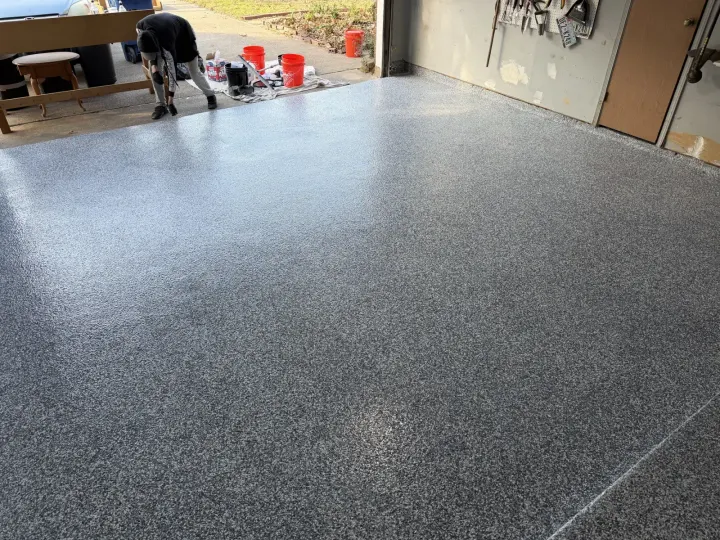
  3. Broadcast the Custom Blend decorative flake throughout the wet coating to create a consistent full-flake finish.
  4. Applied the flooring system carefully around the walls, corners, doorway, tool-storage areas, and other fixed features.
  5. Extended the decorative system along the perimeter for a clean, continuous appearance.
  6. Removed loose excess flake and refined the surface before applying the final coating.
  7. Sealed the decorative floor with a protective clear topcoat.
  8. Detailed the garage-door threshold to create a clean transition to the exterior concrete.
  9. Completed a final inspection of the floor, repairs, edges, and overall flake coverage.

Challenges

  • Restored a concrete floor with visible cracking, staining, discoloration, and surface wear.
  • Repaired damaged areas before installing the decorative coating system.
  • Created a consistent showroom-inspired finish across the entire 400 sq ft garage.
  • Maintained clean coating lines around walls, doors, tool-storage areas, and fixed garage features.
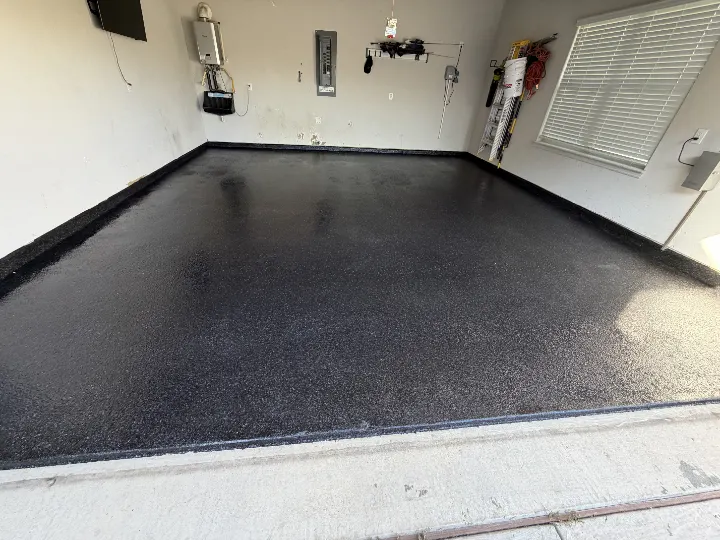
  • Used a dark neutral Custom Blend to create a polished background for the homeowner’s car.
  • Produced uniform full-flake coverage across concrete that originally had significant visual variation.
  • Created a clean transition between the coated garage floor and the exterior concrete.

Outcome

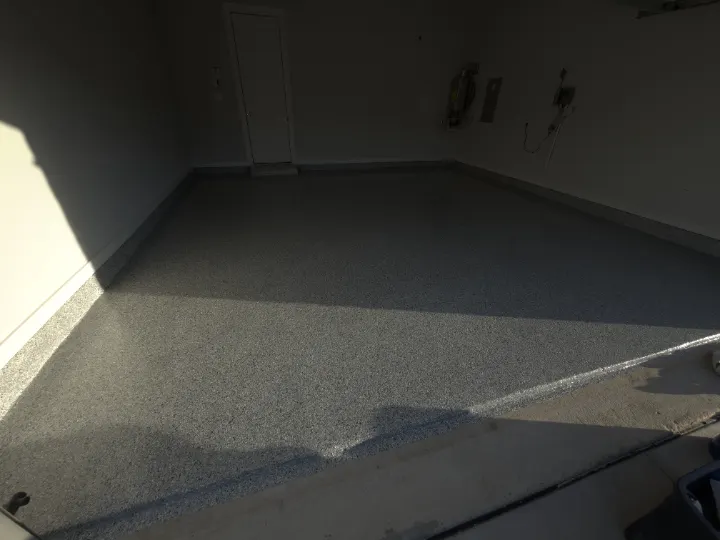
The cracked and stained concrete was transformed into a clean, high-gloss Custom Blend full-flake floor. The dark neutral finish gave the 400 sq ft garage the showroom-inspired appearance the homeowner wanted and created a polished setting for displaying and storing his car. The project was completed in three days.

Maintenance Guidance

  • Sweep or blow loose dirt, sand, leaves, and debris from the floor regularly.
  • Mop the surface with water and a mild, nonabrasive cleaner when deeper cleaning is needed.
  • Wipe up automotive fluids, chemicals, and other spills promptly.
  • Clean tire marks before they build up on the clear finish.
  • Use protective pads beneath floor jacks, jack stands, and other concentrated metal supports.
  • Place a compatible drip mat beneath the vehicle if it develops an oil, coolant, or other fluid leak.
  • Avoid dragging tools, metal cabinets, or automotive equipment directly across the coating.
  • Use a dolly or protective pads when moving heavy equipment.
  • Avoid harsh solvents and abrasive cleaning products that could dull the glossy finish.
  • Contact Ace Garage Pros if peeling, bubbling, unusual discoloration, or another coating concern appears.

Owner Takeaway

Creating a showroom-inspired garage begins with the condition of the concrete underneath the decorative finish. On this project, grinding, crack repair, and moisture protection were essential before the Custom Blend flake and clear topcoat could be installed. The completed floor created a cleaner and more polished setting for the homeowner’s car without ignoring the preparation needed for the system underneath it.

Build Your Garage Plan

See the Finish, Then Price the Scope

Try combinations in the garage visualizer, carry your choices into the estimator, or schedule a site visit for a written quote.

Project photo viewer

Ace Garage Pros epoxy garage floor project preview

Ready to Transform Your Garage?

Schedule a free on-site quote built around your space, priorities, and project goals.

Your info stays private · Typical response: under 1 hour · No obligation

Call JDGet a Free Quote